Shopping Cart
There are no more items in your cart


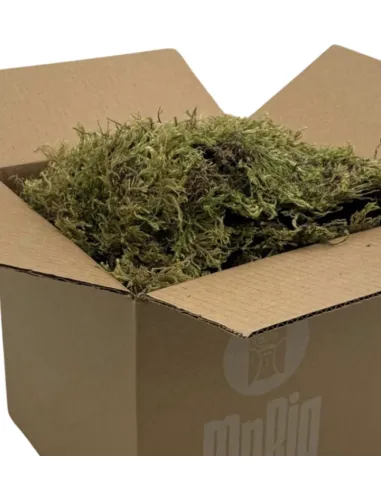
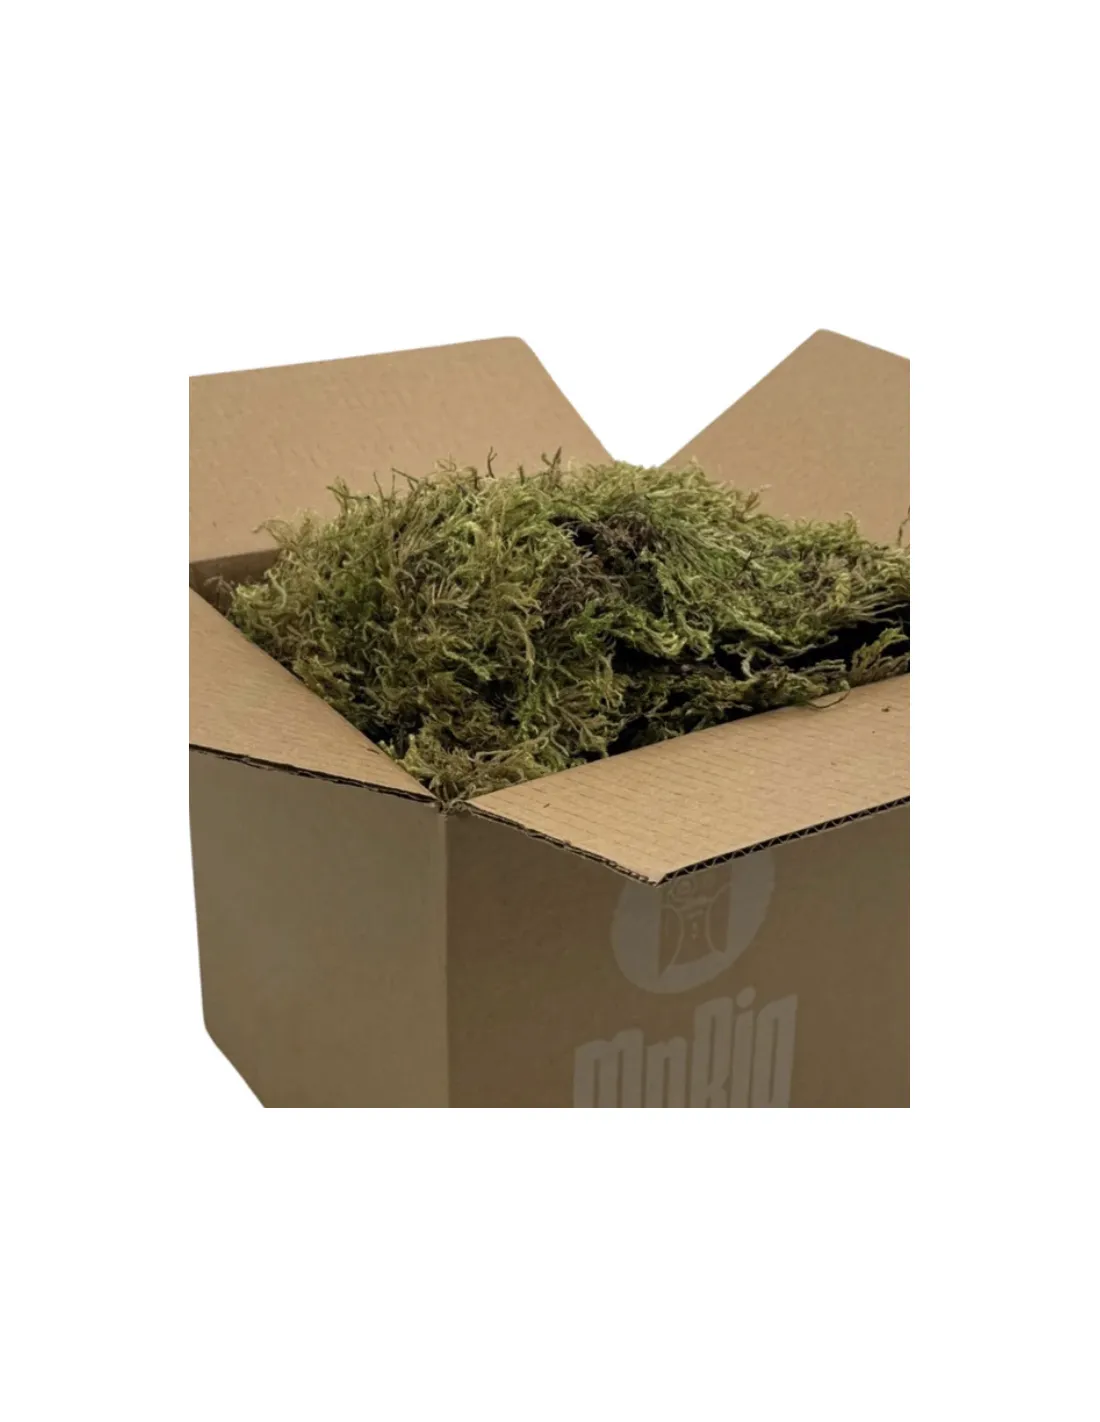
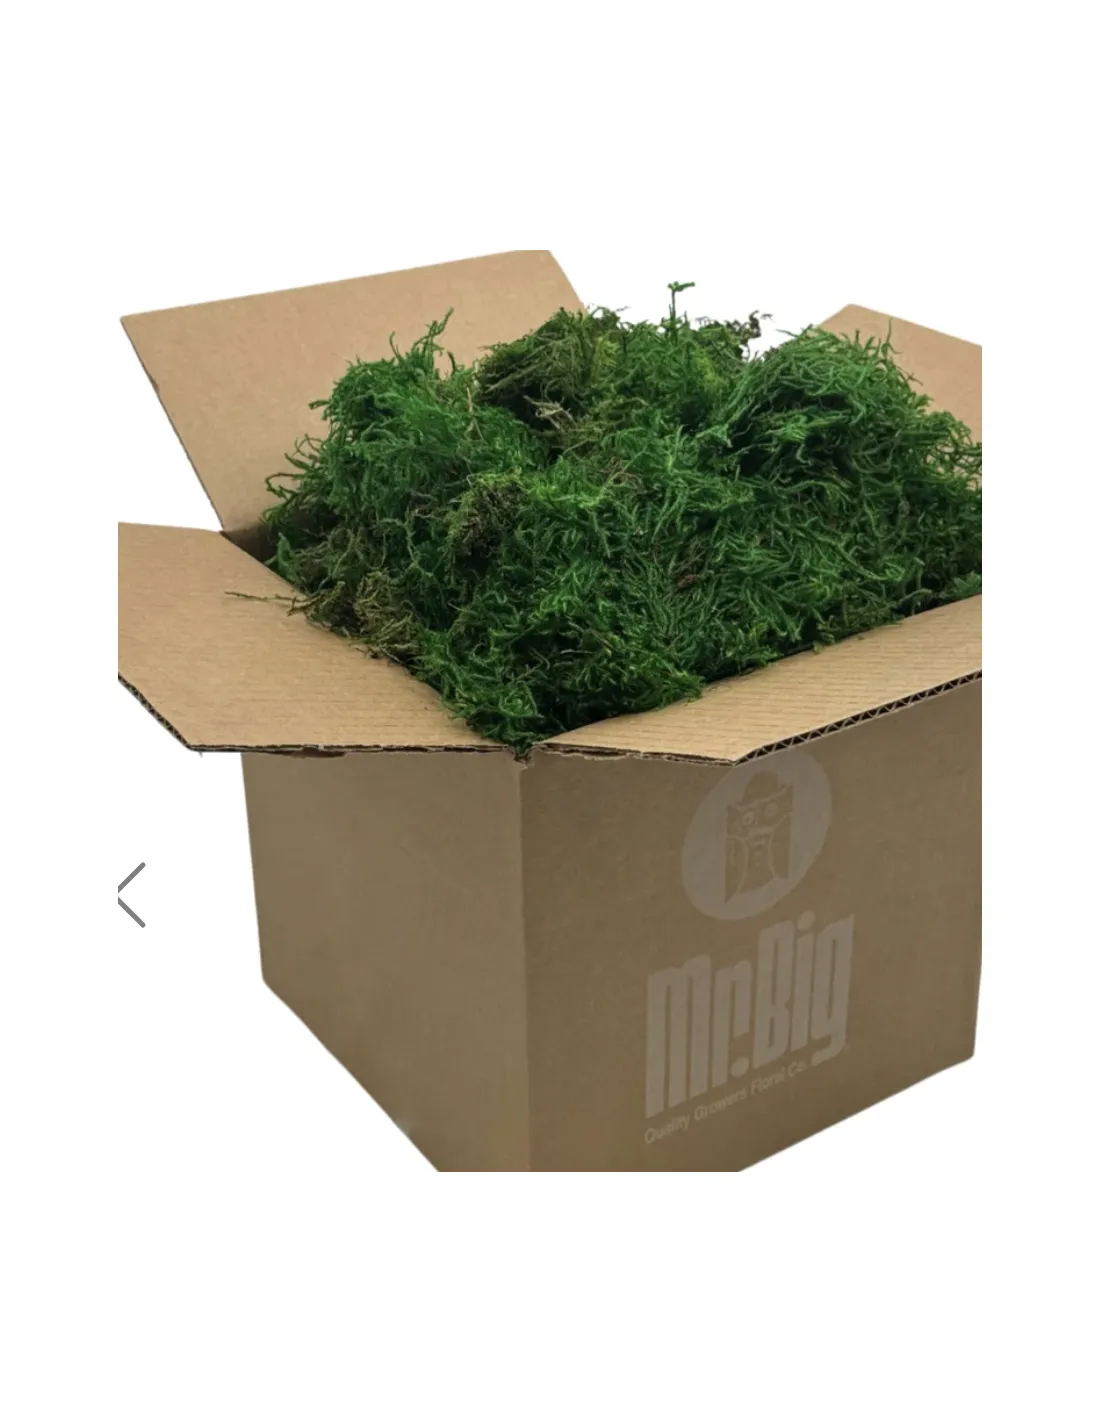
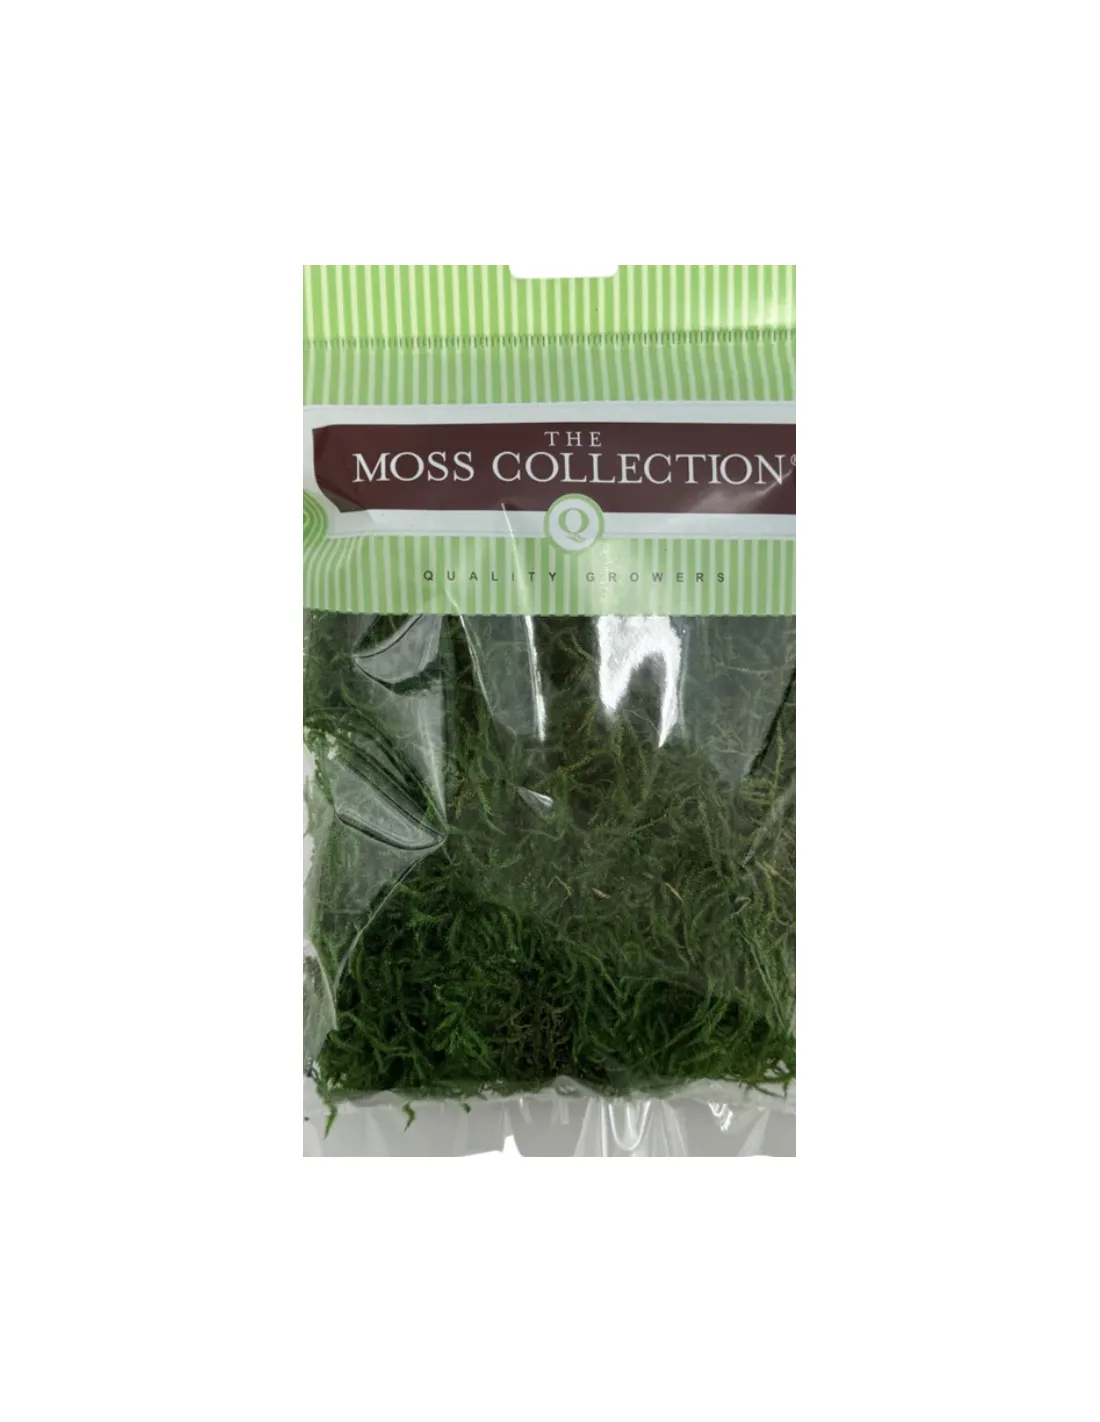
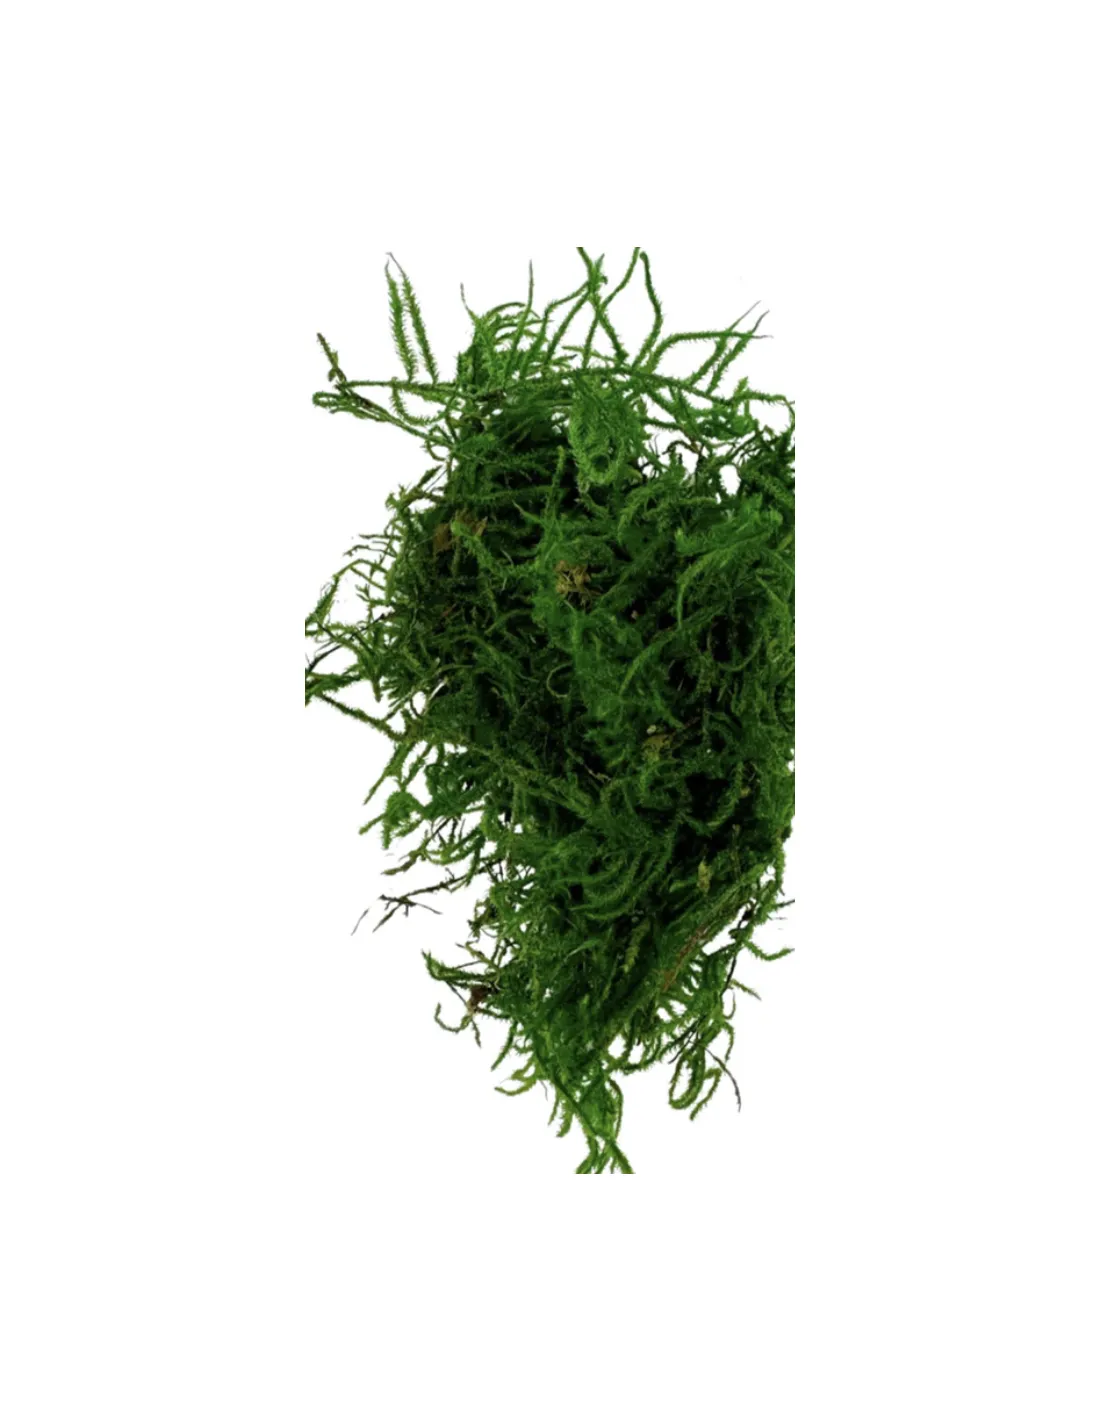
Mountain Moss "sphagnum" Consumer Packs
Mountain Moss “Sphagnum” – Consumer Packs
A clean, natural, and highly absorbent moss ideal for floral design, plant care, and decorative projects. Mountain Moss Sphagnum offers soft texture, excellent moisture retention, and a beautiful earthy look—making it a staple for florists, hobbyists, and home gardeners alike.
🌿 Natural, Versatile Material
This premium sphagnum moss is perfect for:
- Lining baskets and planters
- Supporting moisture‑loving plants and orchids
- Creating terrariums and natural displays
- Crafting, DIY décor, and school projects
- Adding organic texture to floral arrangements
Lightweight, easy to shape, and naturally clean, it’s a go‑to material for both practical and decorative use.
🛍️ Consumer‑Friendly Pack Sizes
Packaged for retail and DIY customers, Mountain Moss Sphagnum is available in convenient sizes that fit every project:
- Small – Great for small crafts, terrariums, and touch‑up work
- Medium – Ideal for everyday home and garden use
- Large – Perfect for larger arrangements, planters, and multiple projects
Taking care of flowers purchased in bulk is essential to maintain their freshness and extend their vase life, especially if you're using them for resale, events, or arrangements. Here's a step-by-step guide to help you process and care for bulk flowers:
Initial Processing Upon Arrival
-
Unpack Immediately
- Remove flowers from boxes carefully to avoid damage.
- Keep them in a cool, shaded area during unpacking.
-
Inspect and Sort
- Check for damaged or wilted stems and remove them.
- Sort by type and stem length if needed.
-
Hydration Prep
- Remove any foliage that will be below the waterline to prevent bacterial growth.
- Recut stems at a 45° angle under running water or submerged in water to prevent air bubbles.
-
Use Clean Containers
- Sanitize buckets or vases before use.
- Fill with fresh, lukewarm water and add floral preservative (contains sugar, acidifier, and biocide).
Conditioning and Storage
-
Hydration Period
- Let flowers hydrate for 4–12 hours in a cool, dark place before arranging or selling.
-
Temperature Control
- Store at 34–38°F (1–3°C) for most flowers.
- Avoid storing near fruits (especially apples) which emit ethylene gas that can age flowers prematurely.
-
Humidity
- Maintain high humidity (around 90%) to prevent dehydration.
Ongoing Care
-
Daily Maintenance
- Change water every 1–2 days.
- Recut stems every few days to improve water uptake.
- Remove any wilting or dead flowers promptly.
-
Avoid Direct Sunlight and Heat
- Keep flowers away from heat sources, drafts, and direct sunlight.
-
Use Floral Preservatives
- Continue using preservatives with each water change to nourish and protect the flowers.
Supplies Checklist
- Clean buckets/vases
- Floral preservative
- Sharp floral shears or knives
- Gloves (optional)
- Cooler or refrigerated storage
- Labels for sorting
No reviews
Tap to zoom